


")
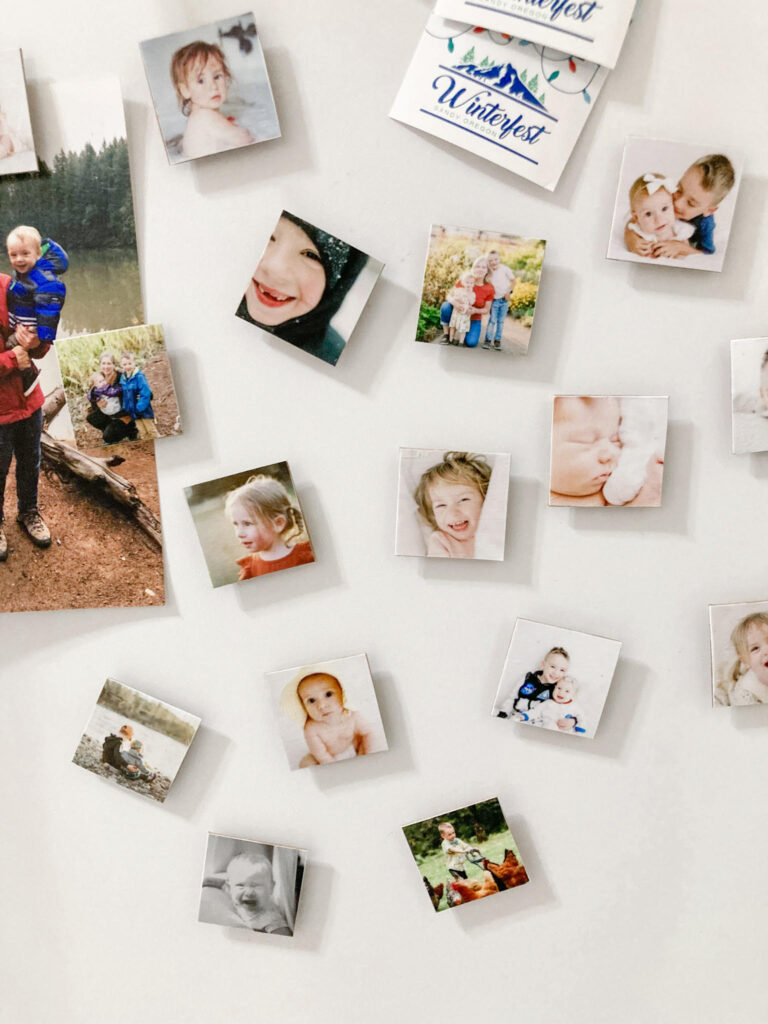
These DIY Fridge Magnets are such a fun, easy, and inexpensive way to display your photos where you’ll see them every day. I love using photos in unique and functional ways that put a smile on my face throughout the day. They also make the sweetest gifts for your loved ones!
Supplies:
- Emilie’s Canva template
- Posterboard or another medium weight cardboard, even a cereal box will work!
- Mod Podge and brush
- Small strong magnets, like these but any magnet will work
- Super glue or hot glue if your magnets don’t come with an adhesive backing
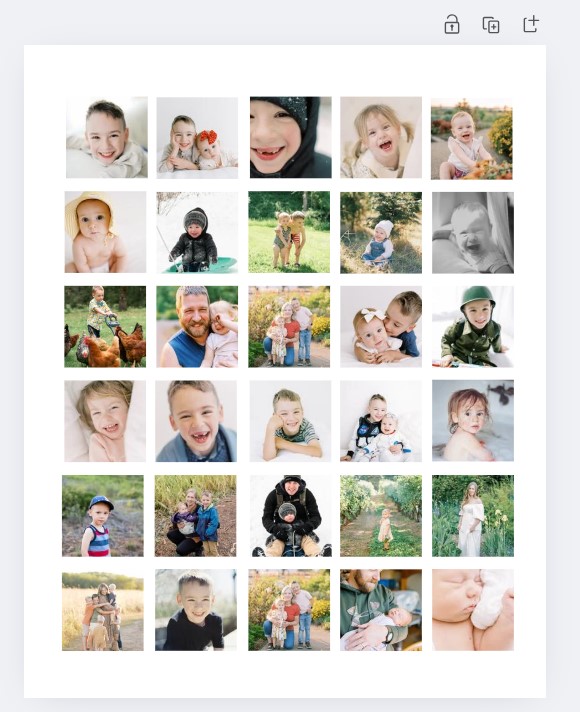
The hardest part of this whole project is going to be narrowing down your favorite photos to use for the magnets. You can use photos from your latest session for a polished look, but they’re also just as adorable with your favorite cell phone shots from throughout the year!
Step 1: Download a copy of my free Canva template here! Make sure to save a copy to your computer– please do not make changes directly to my copy. Canva is free and it’s a very user-friendly system. Upload your favorite photos and once you have the template filled, download and save. Head to your favorite photo printing site like MPix to order the print (but you can also use a drugstore option if you’re in a time pinch). The template is an 8×10 so be sure to upload it and order it as an 8×10 print!
Step 2: Once you have your printed photo grid (isn’t just lovely to hold your photos in your hands?!), cut out each individual photo.
Step 3: Paint a layer of Mod Podge on your posterboard or cardboard and stick your squares down. Cover in mod podge. Once dry, cut them out and paint the backs and edges in more mod podge.

Step 4: Once totally dry, use a strong glue or magnet adhesive to attach the magnet to the photo.
That’s it, you’re done! Now you get to enjoy your photos in a new and functional way where you see them all the time! They really do make the sweetest grandparent gifts, too, so go ahead and save this post to your Pinterest board now for holiday gifting ideas!
Hope you enjoyed this little tutorial. Make sure to tag me if you make these little DIY Fridge Magnets!

Emilie Phillipson is a highly sought out Portland Newborn Photographer. Emilie Phillipson Photography offers Maternity, Newborn, and Family Photography serving Portland, Oregon, and all of Oregon City, Lake Oswego, West Linn, Happy Valley, Vancouver, and Clackamas, Multnomah, and Clark Counties. Studio based in Troutdale, Oregon.


+ COMMENTS
add a comment